My initial plans were to build a spring pole lathe out of
reclaimed pine beams from an old barn that had blown down not far from me. After spending a significant amount of time squaring and sizing these timbers, I reluctantly scrapped them after discovering significant bug damage and fearing that there might still be live critters in them that could do damage to my shop. I really liked the look of those old pine beams too. Oh well.
By the way, I'm basing this lathe loosely off of Peter Follansbee's lathe at Plimoth Plantation, but have searched the internet vigorously and have gotten ideas from a little bit of everywhere. So these are the drawings I've come up with.
 |
| My "Sketch Up" model. I'm old school. |

So, after getting over the disappointment of time wasted planing and my initial vision scrapped, it was time to come up with a new plan for some lumber. For the main frame of the lathe, I decided to go with 4 x 4's from the local home center. These were very straight and fairly knot free. Overall, pretty nice stuff. They're some sort of pine I guess, probably something from out west but I'm not real sure. The plan was to edge glue two together, ending up with around 3 1/2" x 6 1/2" pieces. So, after cutting the pieces to the rough lengths I needed, I edge jointed one face of all pieces with my 30" wooden jointer. Then, and I'm not proud of this, I took them to the garage and ran them through the thickness planer to give me two parallel sides for glue up. I take pride in pretty much doing everything by hand these days, but after working so hard on those bug infested beams, I just didn't have it in me to plane these down to size with hand planes. I don't usually do this, but I'll play the cancer card on this if I have too. Might as well take advantage of it for something. ;-)
Anyway, on to glueing up pairs to make my 6 1/2" wide pieces. After the glue dried it was back to the garage to get the pieces to the finished width and thickness. From this point on, only meat powered woodworking. The way it should be. :-)
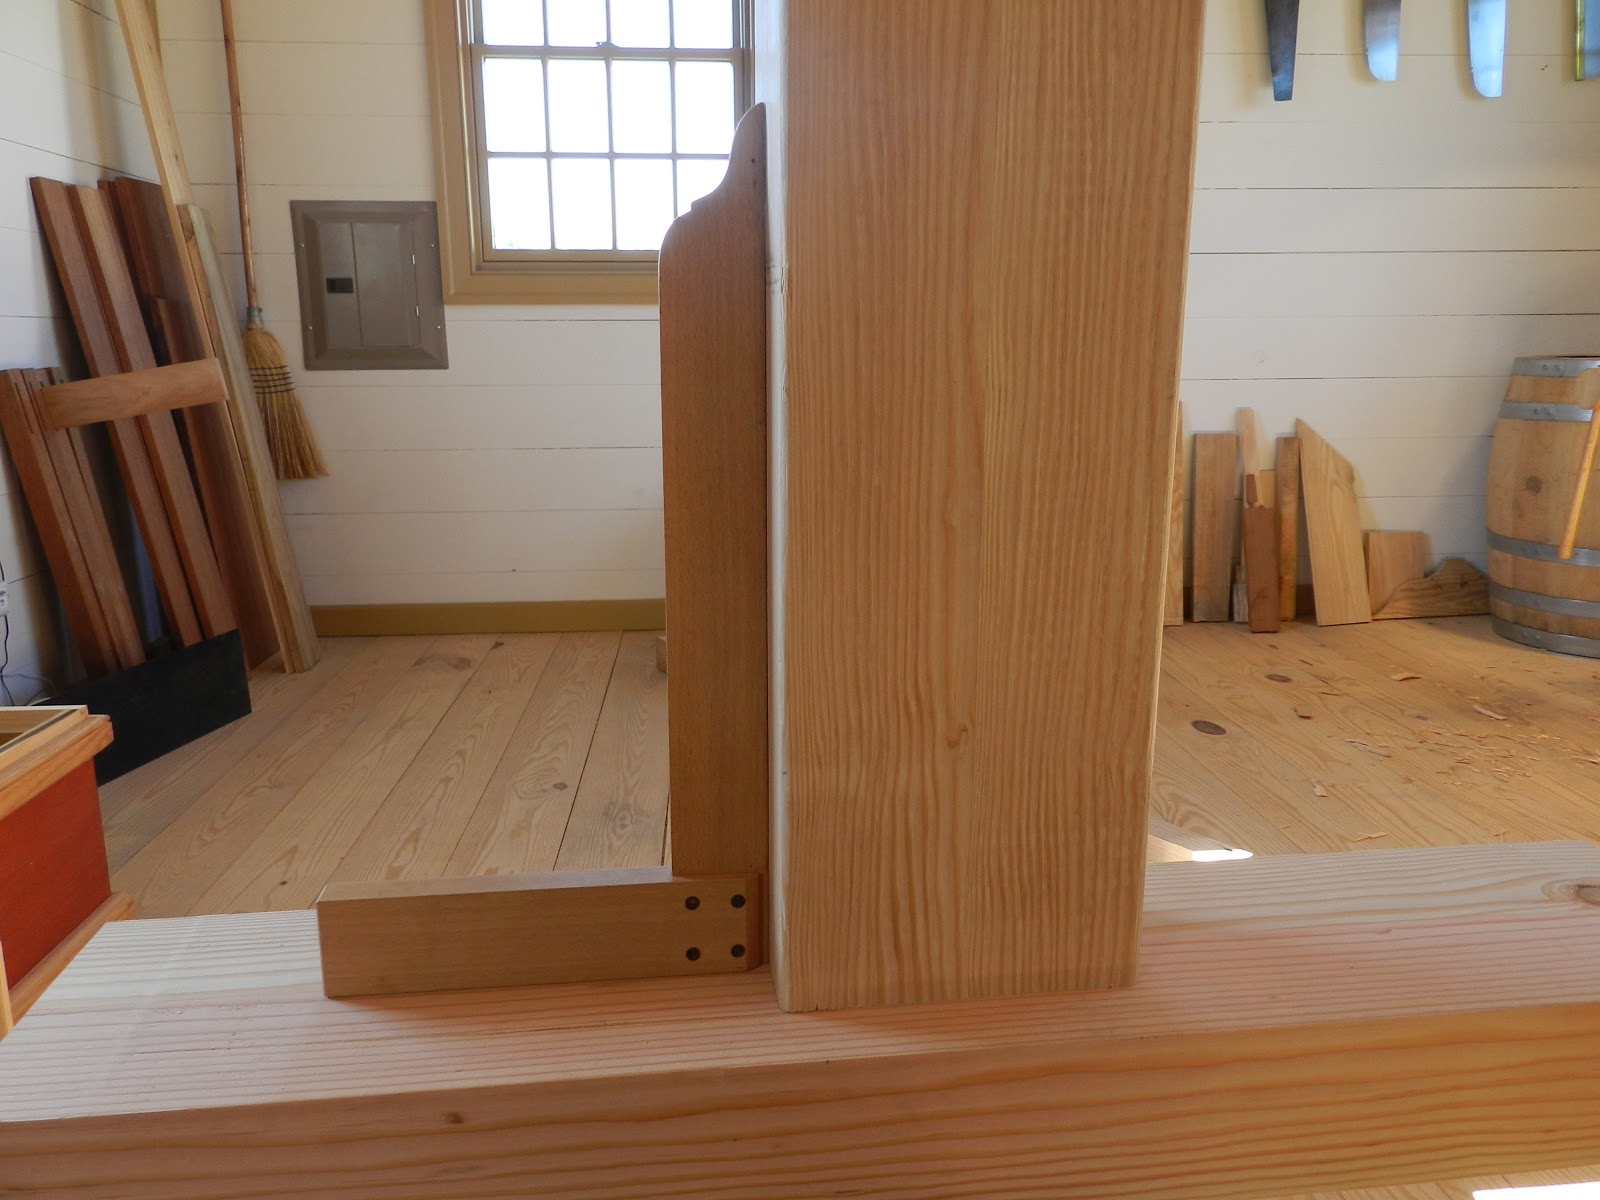
The frame really just consist of a vertical post on one side, 46" tall, tenoned into a 30" long piece to create an upside down T. On this side, the vertical piece will receive one of the dead centers to hold a piece for turning. The other side is the same, only it's 36" tall. It's only purpose is to receive the lathe bed rails. There will be a moveable poppet toward this end with the other dead center installed in it.
I laid out the tenons on the bottoms of the vertical members, sawed them out with my rip panel saw because my tenon saw wasn't quite deep enough. ( As soon as I find a source for bent brass backs, I'll be rectifying this by building a new tenon saw with a deeper saw plate. ) I used the tenons to mark out for the mortices on the feet and drilled out most of the waste with a brace and 1" auger bit, drilling about halfway from the top, then flipping the foot over and drilling the rest of the way. Then it was just a matter of cleaning up and squaring up with a chisel. They're not perfect visually, but they fit together nicely. I'll probably pin them just to be safe.
 |
| Nice tight fit on the top side. |
 |
| Not so tight on the bottom. |
 |
| Nice and square with a nice assembled look though. |
 |
This is the 46" tall side that will get the stationary dead
center.
|
I got the two ends of the lathe mortice and tenoned about a week ago and this morning I was able to get back into the shop to get back to work. Next step was to work on fitting the rails that will be the lathe bed into the uprights. For the bed rails, I'm using some really nice, heavy oak beams that I surfaced to be about 3 1/2" tall by 2 1/2" thick. I decided to dovetail these into the uprights as I'd seen Roy Underhill do on his bow lathe back in season two of the Woodwright's Shop. Good enough for St. Roy, good enough for me! I was a little apprehensive about ruining the work I'd done up til now with bad dovetails but figured hey, no risk no reward. I'm happy with the way the first one turned out.
 |
| The dovetail laid out on the end of the oak rail. |
 |
Saw cut made as best you can. Of course you can't really
get into the corner. |
 |
Just start taking bites. Chisel the shoulder a little, then
take wood out from the end and repeat. |
 |
| Until you get to this point. |
 |
I use the dovetail tenon to mark out the dovetail "mortice"
Then make your outer cuts and a couple relief cuts in the
middle down to the base line. |
 |
Whack out the waste with a chisel and mallet, staying a
little shy of the line. Then come back with a paring chisel
to clean it up to the base line. |
 |
| Looks like it's gonna be a tight fit. |
 |
A little too tight. I had to relieve a little wood on the
shoulders to let the dovetail slide in. |
 |
| A nice tight fit with no wiggle at all. |
 |
| Happy with this. |
 |
I'll be thrilled if I can get the other three to fit this way.
|
Well, time to get back out there for some more work. I'll update when I get the other three joints done. Hopefully with good news.


8 comments:
That’s a beefy looking pole lathe Jamie. I’m sure you’ll be quite happy with it. I don’t know if you’ve seen the spring-pole lathe just posted on “A Woodworker’s Musings” blog (D.B. Laney). He blogged twice today. The spring-pole lathe is the second post down from his Roubo workbench post. He describes his lathe as “…a heavy duty version of Roy Underhill’s German style lathe.” I don’t know though, your lathe build looks like it will be even more “heavy duty” than his. I’m looking forward to seeing your finished lathe (of course, what other direction would I look at this point?).
Oh, and you have my blessings on using a planer for lumber like this. ;-)
Dean
You got to stop losing my number Jamie. I have 2 12' pieces of 4x8 Douglas Fir. Already kiln dried, free of heart center, primo stuff. These pieces are leftover from a framing order we did in VT. No more lamination!
Oh yeah, the lathe looks nice.
Hey Dean,
I DID actually see that post after I posted about mine. That's a good looking lathe. I've never used a lathe before so I'm pretty excited about getting this up and running.
Dang Shannon. I hate it when I fail to think of obvious solutions. I won't forget next time, and there will be a next time. Either for another bench or a treadle lathe, who knows. There's always something to build. That Doug Fir would've been just the ticket and would've looked great to boot. I'm tempted to buy those and store them in the shop til I need them.
Great work as usual:)
Mom
Thanks Mom. Can't wait to get it up and running and try my hand at turning.
Get your access to 16,000 woodworking projects.
Teds Woodworking has over 16,000 woodworking plans with STEP-BY-STEP instructions, pics and blueprints to make each project laughably easy.
Lovely poost
Post a Comment