Thursday, November 29, 2012

Getting Started on a Spring Pole Lathe......Maybe


I've been wanting to build a spring pole lathe for a couple years now. I've never done any turning but I think it will really open up a whole lot of new possibilities for my woodworking.

I really liked Peter Follansbee's lathe when I saw it at Plimoth last summer so I decided I was going to base mine off that one, just not quite as long; shop space limitations and all. A few months ago I saw an add in the local on-line classifieds for some old beams from a barn that blew down. The price was right so I went and checked it out. Came away with plenty for a lathe. Well, I finally took the time to start dressing the beams today. 4x6 pine for the uprights and feet and poppets, 3x4 oak for the actual lathe bed.

I started today by cutting a piece of the 4x6 pine to a workable length and went at it with a cambered fore plane, another fore plane with the iron ground flat and a square. A whole lotta shavings later, I had a surfaced and squared on all four sides beam. Now for the maybe part of the blog tittle. As I was planing the weathered wood away to expose fresh pine, I also exposed some work of some wood borers of some sort. After I finished planing the beam, I cleaned out all the powdered wood with a screwdriver and air from a compressor. This in no way effects the integrity of the beams; they are way more than beefy enough. My only concern is wether whatever did the damage is still in there somewhere. I saw no evidence of anything living in there so I'm hoping they are long gone. Anyone know from the pictures what did this and what's the chance they're not done with the beams yet?

Probably try to plane another piece tonight and see what that one looks like. Once I get everything surfaced and squared up I'll start on some joinery. That'll be the easy part.


First side after cambered fore plane

The damage

Some more

Wood is solid underneath

Four squared. I like the look of it

Sure does make lots of wood stove starter


Friday, November 23, 2012

Turning Saw - A LONG Time Coming


Way back in December of '09 or '10, I received a Gramercy turning saw kit from my mother as a Christmas gift. This was on my wish list and the kit included the handles, pins, and 3 blades. Well, never let it be said that I jump into things too quickly; I just got around to building the saw this past week. I made the frame of quarter-sawn beech and used the Gramercy patterns as a basis for my arms and cross stretcher, with a few modifications. I tried to get a little lambs tongue look where the twine goes across rather than just the open crook the plans show. I'm really pleased with the way it came out but I'll admit, I'm a little scared to tighten the frame as much as it should be tightened. I'm worried I took out too much material at the top. I guess it's one of those things where you don't know if it's too tight until it's too late and you hear the dreaded snap? I tried the saw out in a piece of 3/4 pine and it functioned well, but there was quite a bit of flex in the blade. After it's hung on the wall a while, I suppose I'll get a little more brave and try to get the blade tighter and get some of the flex out of it. I do have more quarter-sawn beech if the unspeakable happens.

It does seem to be a very nice kit from Gramercy and it's a fun project to build and customize to the look that you want. I strung mine with three loops of 3 lb. twisted cotton twine by the way.


It's new home.

Tuesday, November 20, 2012

Tools For Working Wood - A Fine Company

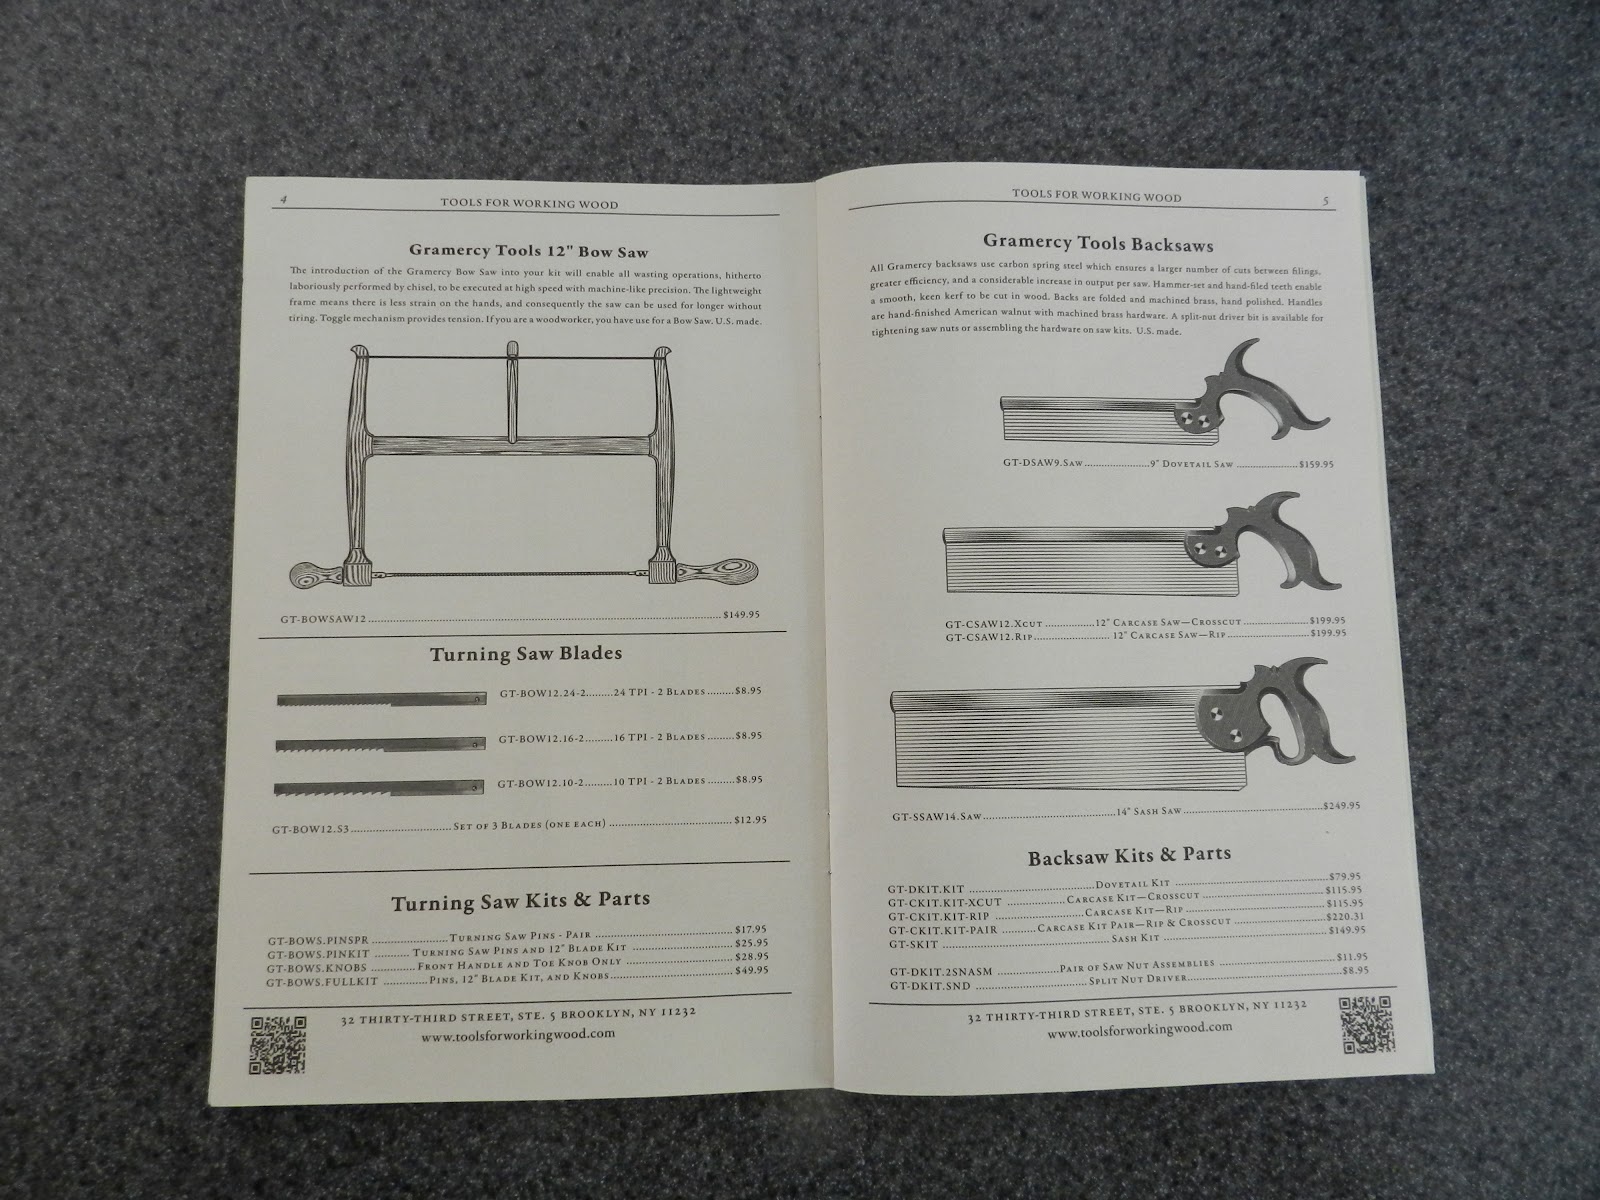
I just wanted to give a quick shout out to Joel and his crew at Tools for Working Wood in Brooklyn for putting out a great product at a fair price and for going above and beyond in putting out little extras like these:


I just received the Modern Edge Tools booklet today and very cool retro-style mini catalog last year. These are catalogs I'll actually hold onto and not trash after a few months. (Although my wife would probably say I never throw anything away anyhow. Not true.)

Just wanted to not let Joel's good deeds/marketing go unheralded. Thanks Joel and staff!


Tuesday, October 30, 2012

Life's Little Moments


There are moments in a parents life where you just wanna gush about your kids. This is one of those moments.

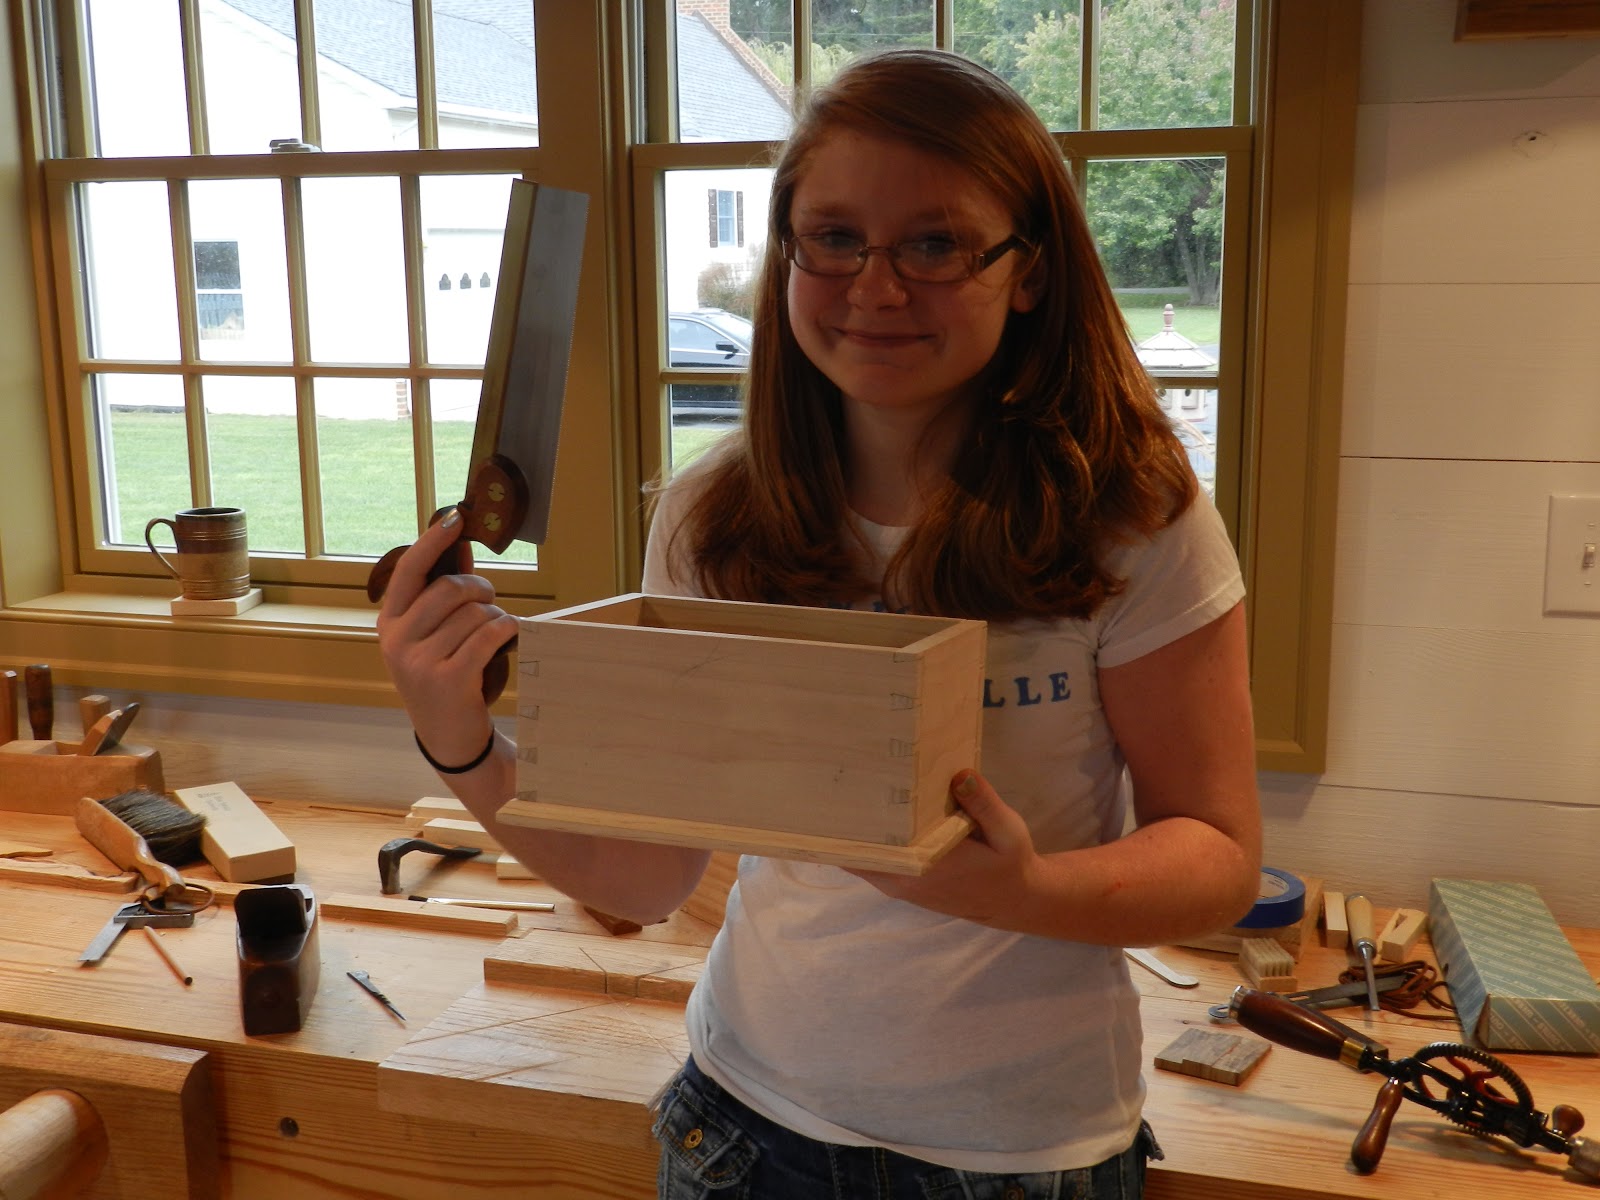
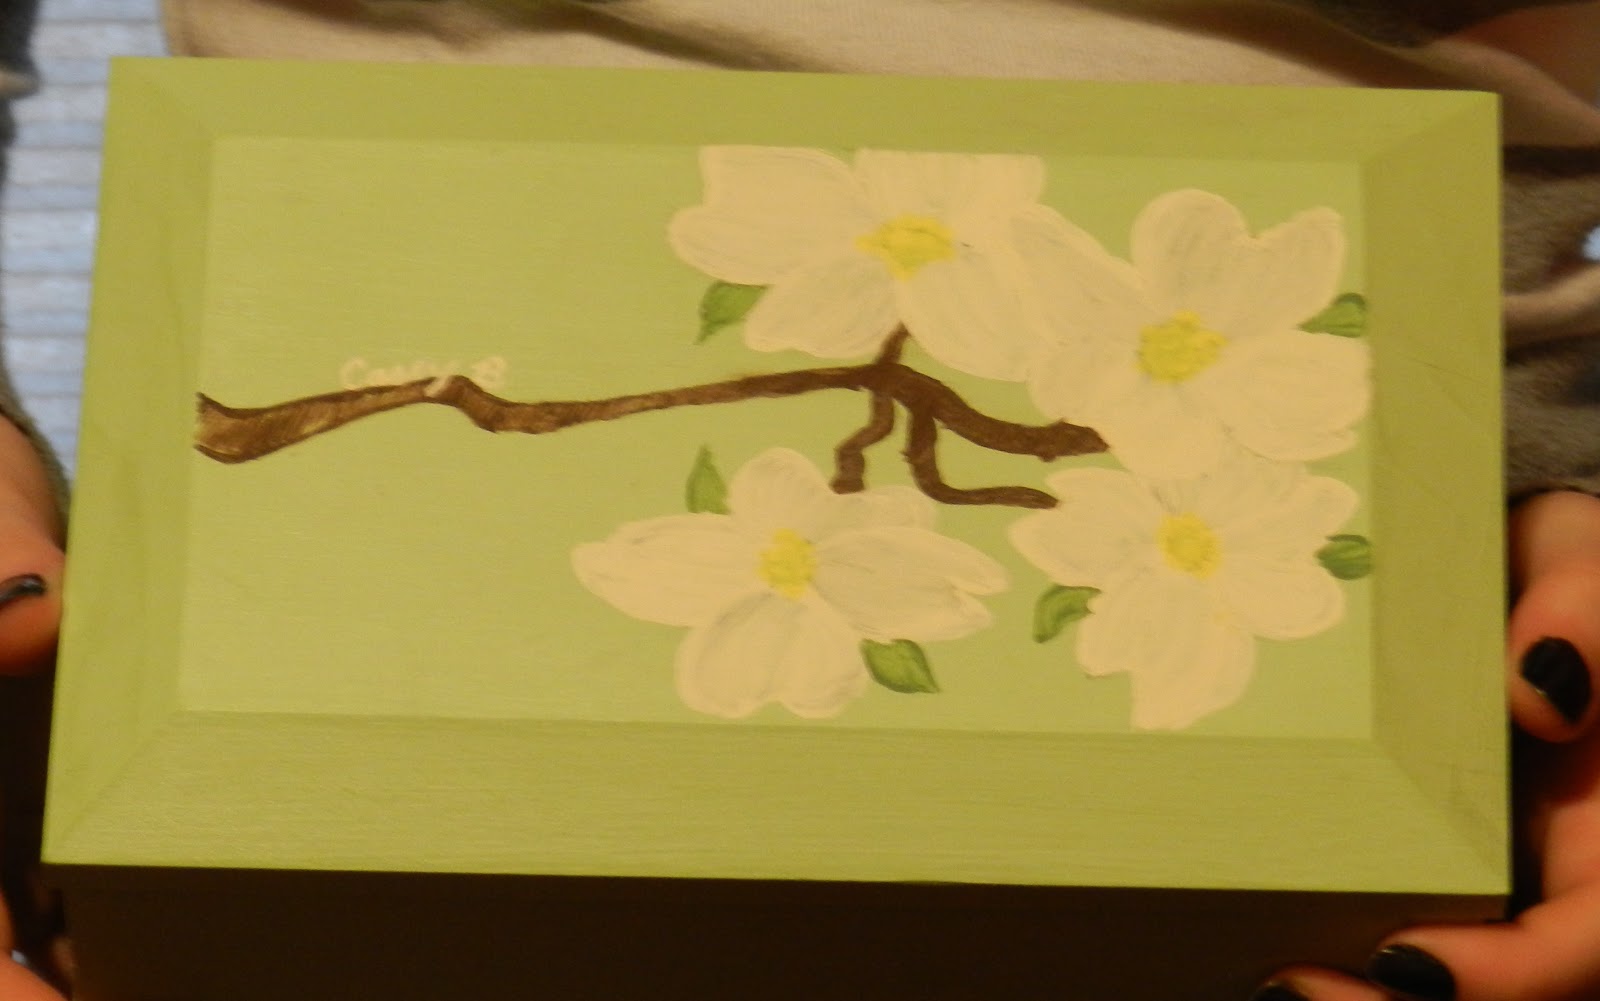
My oldest daughter, Casey is a Freshman in high school this year and is taking Art as one of her electives. In addition to doing a weekly sketch, one of the requirements is to turn in what they call a Master Works project once a month. This can be anything from photography to cake decorating to a metal working project to, hmmm, a woodworking project. Needless to say I was more than a little happy that she chose a woodworking project. After a little discussion we decided on a small lidded box. To practice, we went out to the shop and just for fun I had her cut a practice dovetail. With little instruction, she seemed to get the hang of it fairly quickly. So, even though I knew it was ambitious for a first woodworking project, we decided on a small, dovetailed box. Well, it was a lengthy couple of days in the shop, but enjoyable ones. Casey did almost all of the work on her own, marking, sawing, chopping out the waste. I did lend a hand paring a few of the dovetails to the line but that was about it. She struggled a little here and there with sawing, especially starting the cuts, but she stuck with it and never got discouraged or disgusted. She kept a great attitude throughout and in the end she was extremely pleased with how it turned out and I couldn't have been more proud. She put some paint on it and then painted a flowering dogwood branch on the lid with her signature sitting on the branch. It sits on her dressing table in her room now and I hope she'll treasure it for the rest of her life. I know I'll always treasure the memory of building it with her.


Laying out the tails with dividers

Sawing to the line

Inspecting her work

The happy, budding cabinetmaker

 The finished product, with her artistic touch
A closer look at her painting


Oh, I also have a daughter in sixth grade who's been wanting to get out there and learn some tricks since before I even had the shop done. Gotta make time for that real soon. I can't wait!

Thursday, October 4, 2012

Fun With Scraps


I had some cedar left over from my shutters and an ugly blue plastic dust pan that I was hiding behind the trashcan in the shop. Seemed to me like I'd found a good use for those cedar scraps.


The cedar proved to be a good choice because it kept the dust pan lighter than it looks. The paint is just some latex I had lying around, sanded down a little after drying; figured it'd make the shavings slide out easier. The handle is tenoned and pinned into the back. I have no clue what wood it is, but it's extremely dense. It's what was left after I cut the handle down of the mallet you see in the pictures. Made that Monday evening and after pounding on a mortise chisel for about a half hour there wasn't any sign that it had even been used. Tough stuff. Maybe some ambrosia maple or something? I love these quick little projects.

Tuesday, October 2, 2012

Some Exterior Embellishments


Time to dress up the outside of the shop a little. I wanted shutters on the two gable end windows and the lower window on the western wall. Actually, what I REALLY wanted was operational shutters with iron pintle hinges and decorative shutter dogs; but my last name isn't Rockefeller. I DID think that I could do better than the vinyl home center shutters though, so I went down to said home center and picked up some 1 X 6 cedar boards. I've never used cedar before but that stuff will make you feel like Hercules with a hand saw. The stuff rips and planes like butter; crosscuts nicely also.


There really wasn't much to making these shutters. The upper windows are narrow and two of the cedar boards butted together was within an inch of being half the width of the windows; close enough for non-functional shutters. After jointing the edges to a nice fit I edge glued the two boards together and then ripped some battens to 3 1/2", smoothed and chamfered the edges with a plane, and screwed them on from the backside so no screws show on the front. A couple coats of some black exterior latex finished the first pair off nicely. With the first window's shutters done and hung, I was satisfied with the look and made my other two sets. The larger lower window is 32" wide so three of the 1 X 6's per shutter worked out perfect. I just made the battens a little wider to keep the scale pleasingly proportionate. Hopefully I can get a few coats of paint on these and get them hung this weekend. I think they'll set things off nicely.

So far the shop is a real pleasure to work out of. :)

Wednesday, September 26, 2012

A Nice Little Feature I Forgot To Mention


When in the process of building my shop, it struck me that the way that I had to position my stairs was going to make it difficult to get long boards above stairs for storage. I was discussing the shop with Colonial Williamsburg Cabinet Maker Karre Loftheim on a trip down there a few months back and he suggested a trap door in the above stairs floor. What a great idea! I took his advice and I'm so glad I did. Made getting 15' lengths of mahogany up there possible when it otherwise would have been tough to get 9' lengths up there. I just shoot them from right outside the front door on up through the opening. And as an added bonus, it's a cool place to take aerial pictures of the shop. :)