In addition to woodworking, American history is another passion of mine. I've always enjoyed learning about 18th century America; not only the political history leading up to and including the American war for independence, but probably even more so, the social history and how normal colonial citizens lived their daily lives. I had been to
Colonial Williamsburg, the premiere living history museum in America, once or twice as a kid, but rediscovered it around twenty years ago and got kinda hooked on it. Just ask my wife; I dragged her down there so many times that she got burned out on it and had no desire to go back for about two years. I think she's finally ready to venture back down there though. :-) Visiting the Colonial Williamsburg trade shops, especially the
Anthony Hay cabinet shop, was a big influence on my wanting to go the way of hand tools only in my woodworking. I would see the skills of the craftsmen in the Hay shop and the beautiful work they did using only 18th century style tools and methods. I don't know if it was the romance of the whole thing or the lack of noise and dust that drew me to hand work, but I'm glad something did.
I say all that as background to what this post really is about, our own living history museum in my home county. I'm half ashamed to say it, but in all my years of living in St. Mary's County, I'd never taken the time to visit our own living history museum,
Historic St. Mary's City. I'd drive 3 hours one way half dozen times a year to visit Williamsburg, yet had never driven the 30 minute drive from my home to visit St. Mary's City. Shameful. Well, I finally rectified that last week when I took my two daughters there for the day to check things out. We were all pleasantly surprised at what we found.
St. Mary's City was founded in 1634 and served as the colony of Maryland's capital from then until 1695 when the capital moved to Annapolis. After a tenuous start, St. Mary's City thrived in the second half of the 17th century with a booming tobacco economy and a growing population which led to the construction of public buildings. But when the capital was moved to Annapolis in 1695, St. Mary's City's population quickly dwindled and soon there was not a trace of the old capital. An archaeological program was started in 1969 and unearthed hundreds of artifacts and foundations of original buildings. I'm not sure when the site opened as a living history museum, but it's been there pretty much as long as I can remember.
The girls and I started our day off watching the orientation movie in the gift shop, then it was off to the reconstructed state house and then down to the water to board the Dove, a recreation of one of the two ships that brought the 1634 settlers and their supplies from England. After a picnic lunch, we walked to the Town Center, which consisted of a couple dwellings and a print shop where the girls got to ink and operate the press and then got to keep the contract they had printed. This is the advantage of being the only ones there for the print demonstrations. For the most part, we had the place mostly to ourselves all day. This is good for the visit, but hopefully not too bad for the survival of the museum.
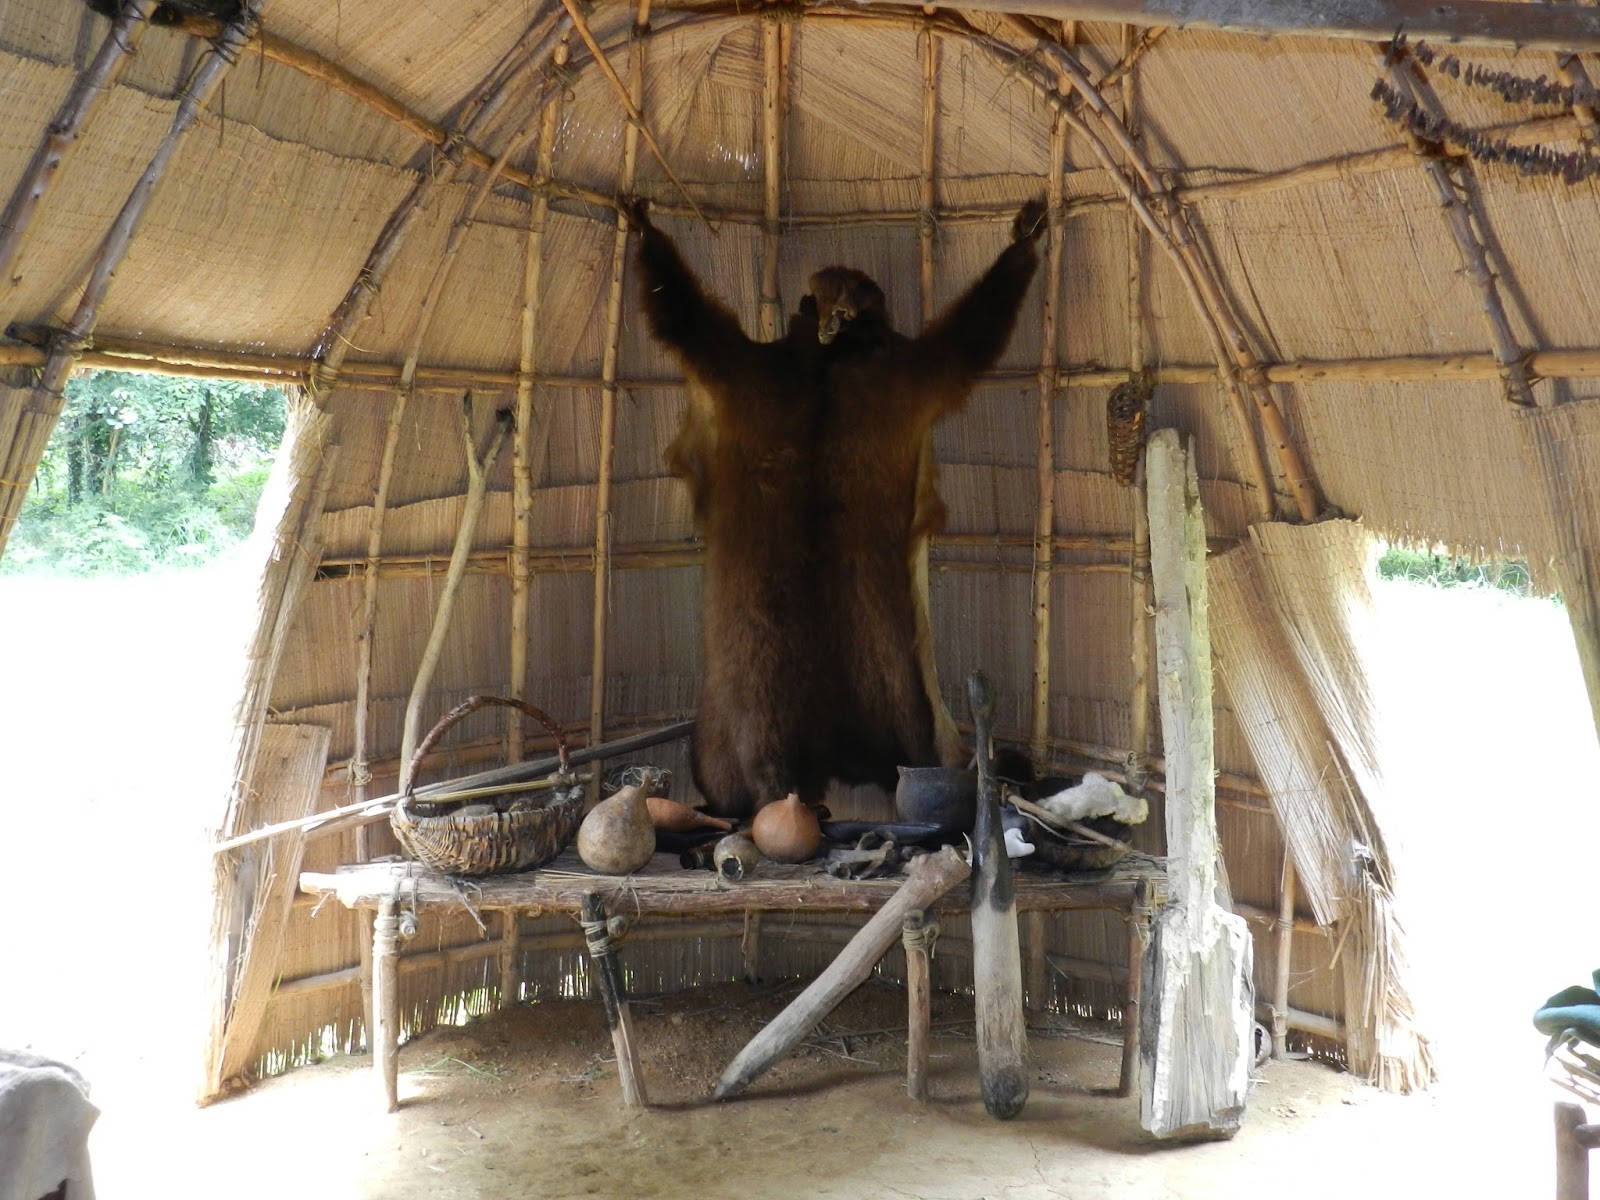
Next it was on to the Indian village where we learned about the Yaocomaco, the native people of the land. They welcomed the new English settlers and even rented there lodgings to them while they built thier houses. Next we took about a half mile drive to the Godiah Spray tobacco plantation. Godiah Spray was quite well off by colonial Maryland standards and the museum has recreated his home and two outbuildings. They also have pigs, cows, and chickens at the plantation, as well as tobacco fields and a herb garden. The costumed interpreters here were fantastic, as they were throughout the museum. The three that were at the Spray plantation when we were there were all portraying indentured servants. We ended our day at the visitors center/museum where there were many 17th century artifacts on display that were found during archaeological digs around the site.
I am so glad that I finally went to Historic St. Mary's City, although somewhat ashamed it took me so long to get there. It won't be my last trip. If any of you are within an hour or so of the site, it is well worth your time to visit. They have done a great job recreating the building there and the costumed interpreters are friendly and knowledgable. There was even a jointer there, although he disappeared for lunch before I got a chance to talk to him.
 |
| Inside the State House. |
 |
| Wainscot chair |
 |
| Joined Chest in the State House. |
 |
| Gate leg table and chairs. |
 |
| Casey, apparently cool with being in the stocks. |
 |
| Gillian, looking pretty guilty. Bring on the rotten fruit and vegetables. |
 |
| The Maryland Dove. |
 |
| The Captain's quarters. |
 |
| Beautiful views along the banks of the St. Mary's river. |
 |
| The print house. |
 |
| Casey inking the type set. |
 |
| Gillian operating the "devil's tail". |
 |
| One of the lodgings at the Yaocomaco site. |
 |
| Inside the long house. |
 |
| One of the dwellings in town center. |
 |
| TOOL SHOT!!! |
 |
| Joined chest at the Spray plantation. |
 |
| Another chest and wainscot chair at the Spray plantation. |