Friday, June 10, 2011

The Woodwrights School-Day 2


Sunday morning rolled around and it was time to make the now familiar drive into Pittsboro for another day at the Woodwrights School. I could get used to this. :) Today's class was Advance Dovetail Technique w/ Bill Anderson. I was a little concerned that the advance joinery class would be a little out of my league, but Bill is a great teacher and made it as easy as it could possibly be. Roy had basically said that he and Bills teaching style were night and day, actually he called it something else that was clever and witty but I can't remember now. Like Ren and Stimpy? No, that's not it. Oscar and Felix? Maybe, but I don't think so. Oh well, point is they're different. Which is kinda nice to be taught 2 different ways to accomplish the same task. Bill uses dividers to lay out his joints. A technique I had just used for the first time on my tool chest carcass.
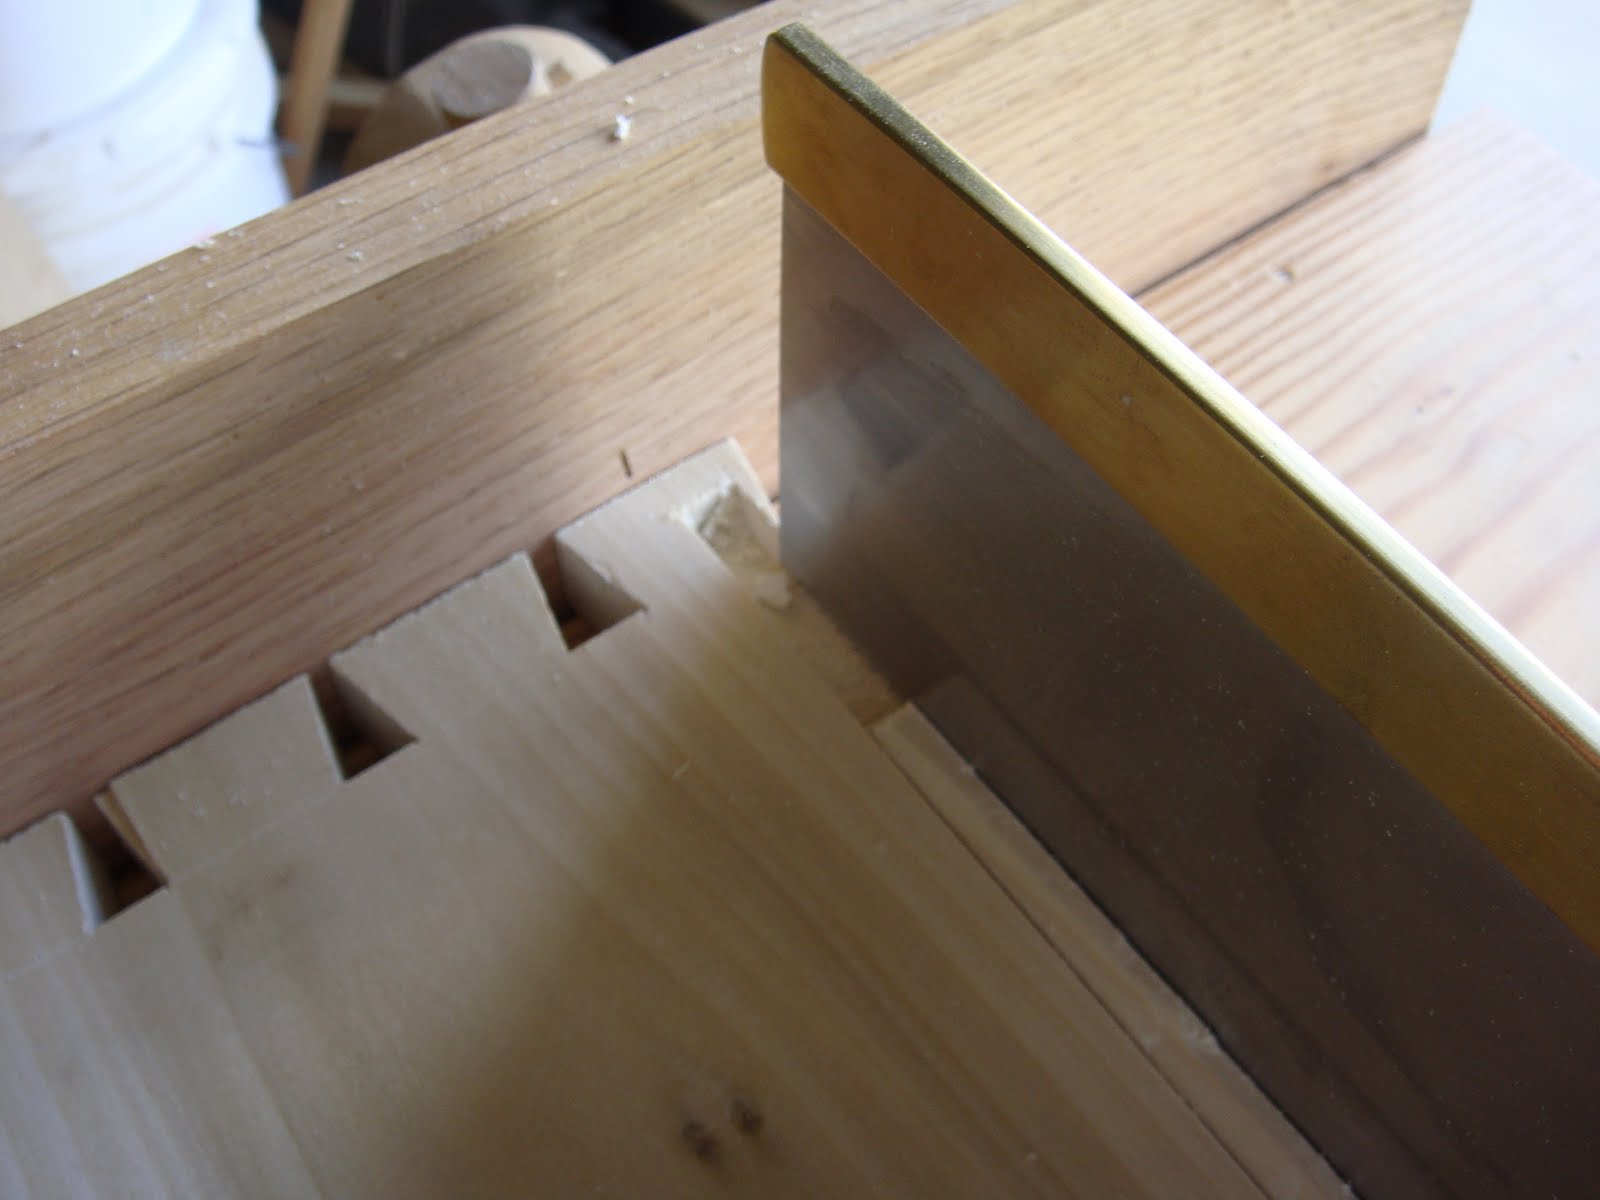
The first thing we did was a through dovetail joint in a board that we put a 1/4" groove on the inside of both boards near the bottom of the pieces. I believe this was called a half lap dovetail. The trick was to be able to plow through grooves in both pieces and not have a little square of the end of the groove show up in the finished joint. Not too difficult of a joint. The dovetails are cut as normal through tails but on the tail with the groove in it, you remove the portion of the tail that has the groove. But before you remove that part of the tail, transfer your marks to your pin board. One thing that Bill teaches differently is to remove the waste between the tails and then transfer the marks to the pin board with a marking knife, versus Roy's method of marking with the saw before removing the waste. We cut the 3 tail sockets as normal but on the bottom one, you have to transfer the thickness of your trimmed down tail to the face of your pin board and be sure not to saw below that mark on that tail socket. Then it's just a matter of cleaning out the waste between the pins, putting them together, and wa-la, a hidden groove.
The next joint was called a half blind mitered dovetail joint. Although they were through dovetails. I guess the half blind refers to the miter at the top? This is a pretty cool joint and not as difficult as it looks. The first thing we did was determine how wide we wanted the mitered portion to be. This will be determined by the size of the profile you may want to put on this edge. Once you subtract this width from the tail board, you lay it out just as normal through dovetails. The only difference is when you saw them out, you will have the material you left at layout beside the one half pin socket. Don't saw the miter yet, mark your pins from your tail board first. Mark all your lines on the end of your pin board. Cut all your lines as normal EXCEPT the straight wall of the half pin where the extra material was left. This line has to be cut at a 45* angle, leaving the face side untouched and sawing down to the baseline on the inside. Now all that's left is to cut your 45* miters from the top edge down to the half pin on the pin board and to the pin socket on the tail board. Time for a test fit. Ahhh. So nice. :) Now we took them back apart and put a nice ogee detail on the top edge. Which is the point of doing the miter in the first place. One thing I learned, other than a really cool joint, is the joy of cutting a profile with a wooden moulding plane. It truly is pure bliss. I REALLY need to get a nice ogee plane.
We kind of ran short on time so we didn't get to execute the tapered sliding dovetail joint, but Bill explained it well enough that I'm confident I could make the joint.
I'm really glad I stayed for day 2. Bill is an excellent teacher and aside from learning some really cool joints, he also gave me a few tips that made me a much better sawyer. A very light, almost hovering touch when starting the saw and smooth, full saw plate length strokes with no downward pressure. Amazing how much smoother my cuts were after putting these tips to use. I've got my eye on a couple other of Bill's classes. The one day saw sharpening class and the 3 day make your jointer plane class. Although I'd rather make a try plane length. Hopefully some day.
As you can probably tell, I highly recommend that you treat yourself to a class or two at the Woodwrights School. It will be a great experience.

Thursday, June 9, 2011

My weekend at Roy's


Well, my day to attend the Woodwrights School finally arrived. I'd been looking forward to it for months. I was scheduled to take the "Dovetails, Mortise & Tenon w/Roy" class and was extremely excited to spend the day with one of my heroes.
I'd been working like crazy to get a tool chest built to transport some of my own tools to use during the class and it came down to the wire. I was installing the hinges for the lid and putting on handles the morning I was to leave for the class. But I got it done.
Roy's school is in a very quaint little town called Pittsboro in North Carolina. And it's really not a stretch to say it's Mayberry-like. I got into town about 7:30 that morning and since school wasn't supposed to start until 8:30, I had time to walk around a little. What a nice little downtown. And I do mean little. I had to chuckle to myself when I walked past the barber shop just a few doors down from Roy's and saw a man and his son getting haircuts with red and white striped barber smocks on in the old fashioned shop. Could've been my imagination, but I swear the barber looked a lot like Floyd Lawson.
I worked my way back to my car parked in front of the school and waited. About 8:15 I saw the familiar figure of Roy Underhill come around the corner and open up Disney World, er, I mean the school. Trying not to look too anxious and trying to give him a little time to get straight, I waited about 10 minutes to go in. I was first there so I introduced myself and asked if I could bring my chest in. Absolutely he said, so off I went to lug it out of the trunk. It's fairly heavy with tools in it. I worked my way to the back corner bench were there'd be room for the chest and prepared to settle in. Roy made my day when he came back to look at the chest and told me what a great job I'd done and how I didn't need to be in his class, and that I should be in Bill Anderson's advanced dovetail class the next day. He offered to switch my registration to that class. I told him thanks but I really wanted to take a class from him. I was on cloud nine from his little compliment and before class started I called my wife to tell her what he'd said about the chest and about the class tomorrow. Without me even asking, she suggested that I take Roy's class and stay for Bill's the following day also. What a woman!!! So my weekend just got a lot better before it really even started.
Roy's class was full, ten people, with woodworkers of various skill and experience. Time to get to work. Roy has a great way about him. He puts you at ease, explains things well, and makes the learning fun with his wit and humor. He is also extremely knowledgeable. Obviously about woodworking but about so many other things also. More on that in a minute. After a brief talk on safety it was time to get dovetailing. First up were through dovetails. The way we did things that day, at the request of a student, was Roy would explain a step, then we go do that step, then come back for an explanation of the next step and so on. Roy is what I would call more of a "feel" woodworker than an analytical, by the book guy. He doesn't care what the angle of the dovetail is, doesn't even care to find out most times. He just decides how may tails he wants on the tail board and goes from there. A 3/8" chisel determined the width of our pin sockets. Doesn't matter what size you use, the point is, make this measurement the width of a chisel you have. After laying out and cutting the tails, we marked the pin boards by placing them in the face vice, laying the kerfed tail board on top of the end of the pin board and placing the toe of the saw in the kerf of the tail and pulling back. Although I'd seen Roy use this method on TV before, it was the first time I'd tried it. After all was said and done I have to say, I liked it. We finished marking the pin boards, cut them with our dovetail saws, removed the bulk of the waste with coping saws and then chiseled to our base lines. Time for a test fit. Whew, not bad. First dovetail came out nice. Time for lunch.
We all had lunch together at the restaurant right next to the school. I can't think of the name right now to save my life but it was delicious. Great food, good service, and killer shakes served in an old fashioned glass with the extra brought to you in a stainless steel cup that the shake was made in. This brings me to what I was saying earlier about Roy being knowledgeable about so much. When I brought my tool chest in, I just had the rope handles going through holes I'd drilled in the cleats and tied in a knot. I told him I needed to learn how to braid rope to make a better looking handle. Well, he told me to bring some rope to lunch and right there in the restaurant he took the braided rope apart into 3 strands and showed me how to braid my handles! I was so excited about this new found skill that when I got back to the hotel I braided two handles, took the cleats off my tool chest, grabbed my carcass saw and bench hook and with the bench hook on the hotel dresser, sawed the backside of the cleats open to accept my new handles. First time I'd done woodworking in a Super 8 and I'm sure the maids were wondering what all the saw dust was from. Termites?
Oh, back to class. After lunch we moved on to half blind dovetails. I'd never really done these before and was thrilled when they turned out not half bad.
Next was mortise and tenons. We laid out and sawed the tenons first and then used a marking gauge and the tenons to lay out the mortises. This was also a first for me and gave me a chance to try out my new Ray Iles mortice chisels. Boy are those a dream to work with! I'm gonna have to look for excuses to do more mortice and tenon work.
I'm really glad I took this class. I learned a lot, gained a lot of confidence and had a GREAT time. I can't wait to go back and take other classes. Just wish he was closer. I'll do a write up on the advanced dovetail class here in the next few days.
Oh yeah, they have an amazing tool store upstairs also. If you love old vintage tools like I do, this alone is almost worth the trip. Great prices too.

Tuesday, May 31, 2011

It's here! It's here!


This was in my mailbox when I got home today.


Opened the box and saw this.


My long anticipated copy of Chris Schwarz new book The Anarchist Tool Chest. Can't wait to delve into this one!

Wednesday, May 25, 2011

Tool Chest Build Part 5, Coming Together

Well, I've had a few late evenings to work on the tool chest since my last blog entry and it's starting to come together now. I'm not going to have it completely done and painted before I leave for North Carolina and my class with Roy, but I hope with a couple more evenings to have it done enough to trasport some tools in. I'm going to shoot for getting the lid made tonight. Then I'll need handles, I'm thinking cleats with rope handles, and I think I want to put a skirt board around the bottom. Maybe a trim board just below the lid also. Then a nice coat of milk paint on the outside. But for now, I'm shooting for a lid and handles before I head south at some point on Friday. Wish me luck. :)
I'll try to take lots of pictures and do a report on my experience at The Woodwrights School when I get back.


Tuesday, May 17, 2011

Tool Chest Build Part 4, Shiplap Joints with a Rabbet Plane


So, on to the bottom for the chest. Based on the size lumber I had, I decided to run my boards for the bottom from front to back and rather than glue up a panel, I'm just going to let them float individually in the grooves of the sides of the chest. To keep gaps from opening up all the way through as the wood moves with the seasons, I chose to use shiplap joints where the edges of the board meet. These joints are pretty simple to execute, and with minimal tools. All I used was my marking gauge and a 1" square rabbet plane.
To start, I set my gauge to the desired setting, in this case 1/2", and ran a gauge line down the edge of the bottom boards, on top on one side, on bottom on the other side. Then I reset the gauge to 3/8", half the thickness of my boards, and ran these gauge lines on the edge of the 3/4" thickness. To start the rabbet, take your rabbet plane and tilt it toward the inside of the board so that just the corner of the iron rides in the gauge line made earlier on the face of the board, using the finger tips of your left hand to ride against the edge of the board and act as a fence. A couple of passes like this establishes a shoulder for the rabbet plane to ride against and the plane can now be straightened to 90* and run down the edge of the board until you reach the 3/8" depth gauge line. And that's pretty much all there is to it.
I have to admit, this is really the first time I've used a rabbet plane in a project and it's a great tool. Mine is one I happened to find on eBay about a month ago. When it came in I just inspected it and set it aside, not having an immediate use for it. Well last night I found a use. Sharpened the blade on a few different grits of oil stones for 5 minutes or so and that was all it took to have a wonderfully functioning plane. Nice tight mouth and all. This turned out to be a great find and I will be keeping my eyes open for more. The square blade rabbet planes are much tougher to find than the skewed, but I've heard they are better, and the performance of this one gave me no reason to doubt these claims.
Next step, a couple passes on all the pieces with the smooth plane and then some assembly.

Monday, May 16, 2011

Tool Chest Build Part 3, making grooves without a plow plane


Ok, so the next step was to plow a groove in the front, back, and sides for the bottom of the tool chest to fit into. Ideally, one would probably do this with a plow plane but since I don't currently own one, I chose an alternative process.
The first step was to lay out where I wanted the grove to be. The bottom will be 3/4" thick boards with a 3/8" thick rabbet on the ends and edges to fit into the grove, so I took my marking gauge (don't currently own a mortice gauge either) and set it to 3/4" and marked a line up from the bottom of all four sides of the chest. I then reset the gauge to 3/8" and ran another line parallel to the first. I deepened these lines straight down with a striking knife and then came back with a chisel on the waist side of each line and made a little groove; a place for the saw to ride in during the next step.
Time to saw the sides of each groove. For this I used a small tenon saw filed crosscut. On the end boards, I was able to saw all the way across to a depth of about 3/8". This measurement is not absolutely critical. On the front and back boards, my saw cuts had to stop short of each end by about 3/8" or you would see a 3/8" x 3/8" square hole on each end of the chest when assembled. To make these stopped cuts, and the give the saw dust a place to go, I chopped mortices in each end of the board within the lines cut for the grooves. These only had to be about 2" long or so. Just enough to give the saw clearance at the start and finish of each stroke. Once these cuts reached the 3/8" depth, it was time to remove the material in between. The best way to do this is with a chisel.
I took a 3/8" bench chisel and started at an end closest to a mortice with the chisel held bevel down at about a 30* angle of attack. Tap the chisel with a mallet until you get near the 3/8" depth and then flatten out the angle. This is why you want to use the chisel bevel down. Do this down the length of the groove isn about 2" chunks until you reach the end. Then come back with the same chisel, held bevel down, and pare the bottom of the groove flat. This is the first time I've used this method and it gave me surprisingly good results. It's actually pretty satisfying to do things with minimal tools and have them turn out well. . . . . . . . .but I still really want that Clark and Williams plow plane. :) More to come.

Sunday, May 15, 2011

Tool Chest Build Part 2, Dovetailing


Got the dovetails cut on the carcass. Cut the pins first, which was a first for me. Worked pretty well. Laid out the pins with a pair of dividers, also a first. I liked this method. I just laid out a half pin on each end of the board, then decided how wide I wanted my pins and tails to be, which determined how many pins and tails there would be. Then it was a matter of setting the dividers to what I thought the width should be and walking them across the board. A few adjustments of the dividers width and I was all set. You know your setting is right when you start a the edge of the board, on the narrow part of the half pin, and walk your dividers across the end of the pin board, and end up on the line you drew for the other half pin. Then to get the other side of the pins, you go back to the side of the board you just started from, and this time start the dividers on the line of the half pin. When you walk them across this time, you will end on the edge of the other side of the pin board. You then take your bevel gauge, set to the slope you want your dovetails to be, and draw lines for your pins at each first mark from the dividers with the gauge one direction, then at each second mark with your gauge in the other direction. Then it's just squaring down the face of the board, sawing to those lines, clearing out the waste with a coping saw, and paring them to final shape. Set this board on your tail board to mark the tails from the pins you just cut and cut and chisel the tails. If all goes well, they'll fit together off the saw. I had to pair about 5 or six pins down to get them to fit. They're not perfect, but they fit together well and are very strong.
Next is to plow the groove for the bottom board to fit in. I should have done this prior to dovetailing, but I got a little ahead of myself. I don't own a plow plane ( at least not until my lovely wife buys me that nice Clark and Williams plow plane and set of irons ;) ), so I'll be cutting my grooves with a carcass saw and chisels. I'll let you know how that worked out on my next post. Talk to you then!